<
>


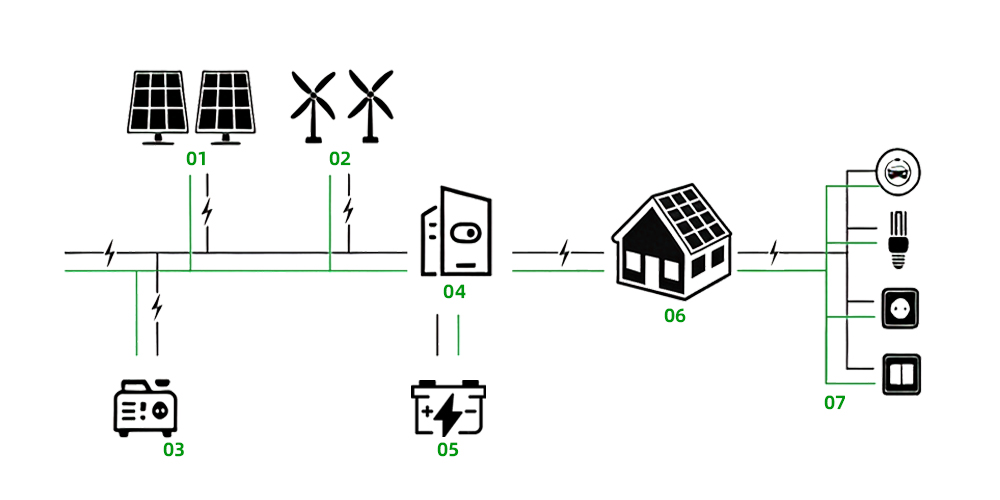
01 Solar Panel
02 Wind Turbine
03 Generator
04 Inverter
05 Battery Storage
06 Prefabricated Villa
07 Electrical Loads
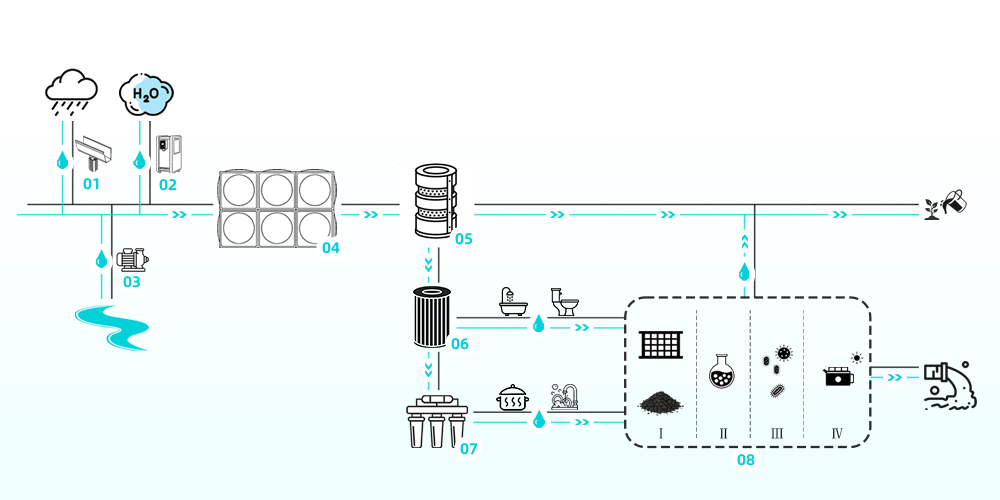
01 Rainwater Collection Gutter
02 Atmospheric Water Generator
03 Water Pump
04 Water Storage Tank
05 Stage‑1 Filter (Pre‑Filter)
06 Stage‑2 Filter (Domestic Water Filter)
07 Stage‑3 Filter (Drinking Water Filter)
08 Integrated Wastewater Treatment Unit
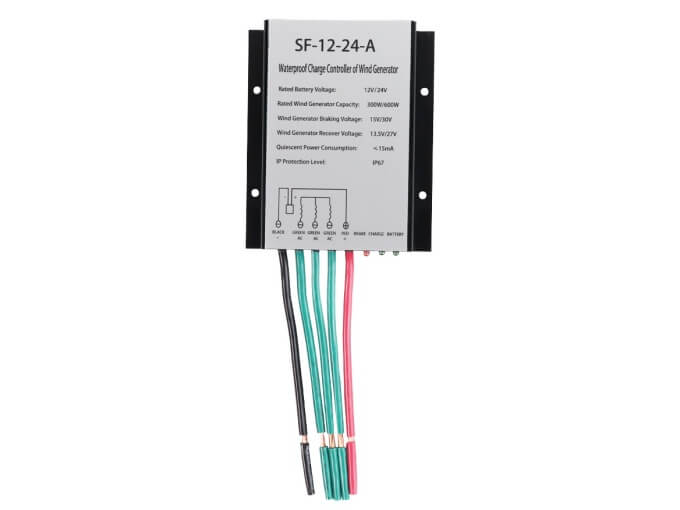
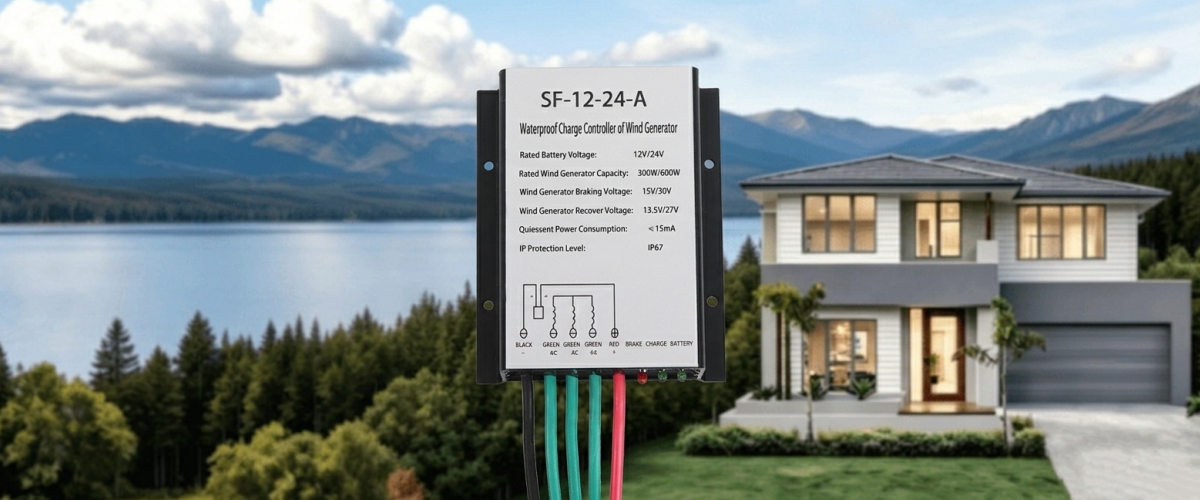
This waterproof wind turbine controller is engineered for efficiency and reliability in demanding outdoor environments. With automatic voltage detection, it seamlessly adapts between 12V and 24V systems, supporting wind turbines from 300W up to 600W. The IP67-rated enclosure protects against rain, dust, and other harsh elements, making it perfect for off-grid energy setups, marine applications, and remote cabins.
1.Smart Auto Voltage Matching (12V/24V) – No manual setup required
This product automatically detects 12/24V systems and adjusts charging parameters accordingly based on the battery voltage.
2.Intelligent Battery Protection System – Auto charge, auto brake, auto recovery
This controller enables the wind turbine to automatically charge the battery. When the battery is fully charged, the internal circuitry automatically activates the wind turbine’s braking system. Once the battery voltage drops to the recovery threshold, the wind turbine resumes charging the battery, thereby protecting both the turbine and the battery.
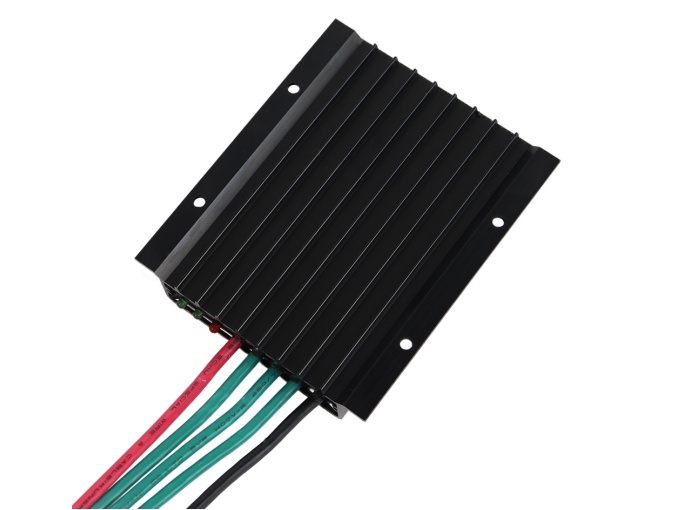
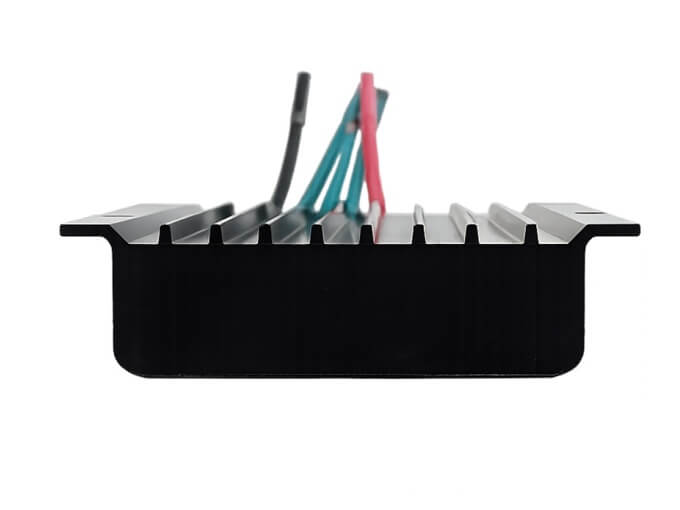
3.Comprehensive Waterproof Protection
This controller features a fully sealed, waterproof design, eliminating concerns about operating environments with high humidity, high salinity, or standing water. There is absolutely no risk of short circuits or burnout due to water ingress. With a protection rating of IP67 or higher, it can operate normally for extended periods even when submerged in water, significantly enhancing stability and reliability.
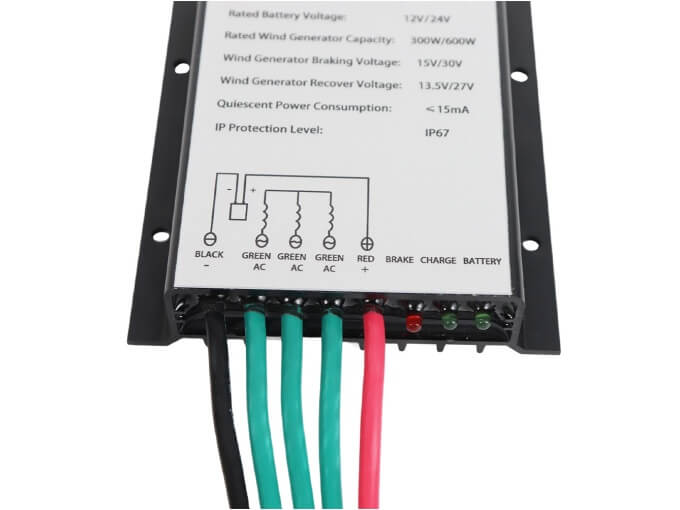
| Product Name | Waterproof Wind Turbine Controller |
| Battery Rated Voltage | 12V/24V Auto-Detection |
| Fan Rated Power | 300W/600W |
| Brake Engagement Voltage (Factory Setting) | 14.4V/28.8V |
| Brake Release Voltage (Factory Setting) | 13.2V/26.4V |
| Brake Engagement Current (Factory Setting) | 25A/25A |
| Display Type | LED Display |
| Operating Temperature | -35°C~+75°C |
| Enclosure Dimensions | 13*10*3 cm |
| Protection Rating | IP67 |
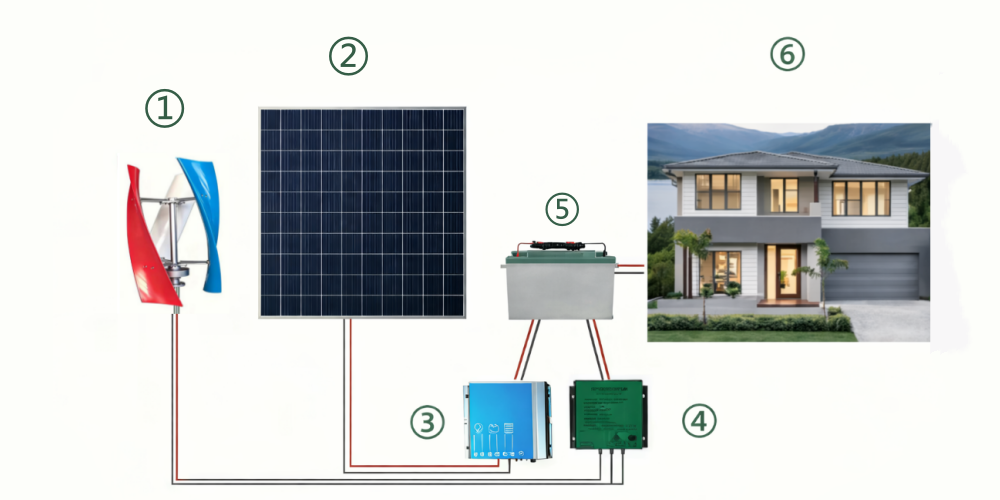
① Wind Turbine
② Solar Panel
③ Photovoltaic Controller
④ Wind turbine Controller
⑤ Battery Bank
⑥ Various Home Appliances For Prefabricated Villas
Always connect the battery first, then the wind turbine to avoid potential damage and ensure proper startup.Simple setup in just 2 steps:
1. Connect the Battery First
Attach the battery’s positive (+) and negative (−) terminals to the corresponding terminals on the controller.
Ensures the controller powers up safely before operation.
2.Connect the Wind Turbine
Connect the wind turbine’s three-phase wires to the controller’s input terminals.
Ready to start generating and charging power.
1. Match Voltage Correctly
Make sure the wind turbine output voltage matches your battery system (12V or 24V).
2. Follow the Wiring Order
Always connect the battery first, then connect the wind turbine.
3. Install with Care
Incorrect wiring may damage the controller, battery, or wind turbine. Please follow the instructions carefully.
1. BRAKE (Red Light ON)
The battery is fully charged, and the wind turbine is automatically braked for protection.
2. CHARGE (Green Light Flashing)
The wind turbine is working. Faster flashing means higher wind speed.
3. BATTERY (Green Light ON)
The battery is properly connected and the system is operating normally.
Ideal for off-grid, marine, and remote power systems where reliable and sustainable energy is essential, combined with a wind turbine and battery system, this setup provides basic power for lighting, refrigerators, communication equipment, and more.

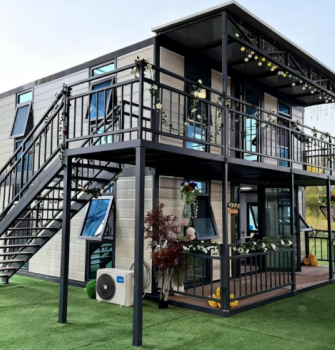
Light-Gauge Steel Villas
Modular Container Homes
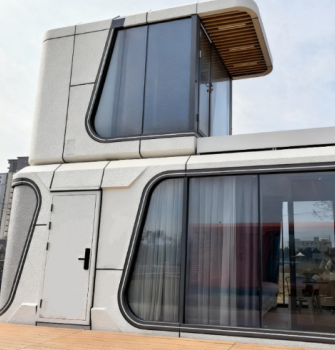
Space Capsules
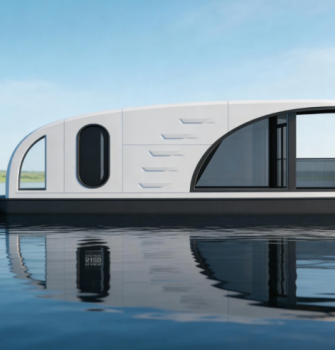
Houseboats